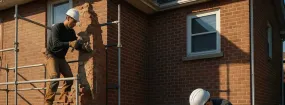
Chimney problems are hard to judge from the ground, and climbing up for a closer look is not something we recommend. A clear explanation is the safer first step. This page covers what people in Chilliwack usually want to know after a search for “chimney rebuild services”: what tends to go wrong, what a repair visit involves, what affects the price and how to tell a careful company from a hasty one. It is written to help you understand chimney rebuilding, not to push you into it.
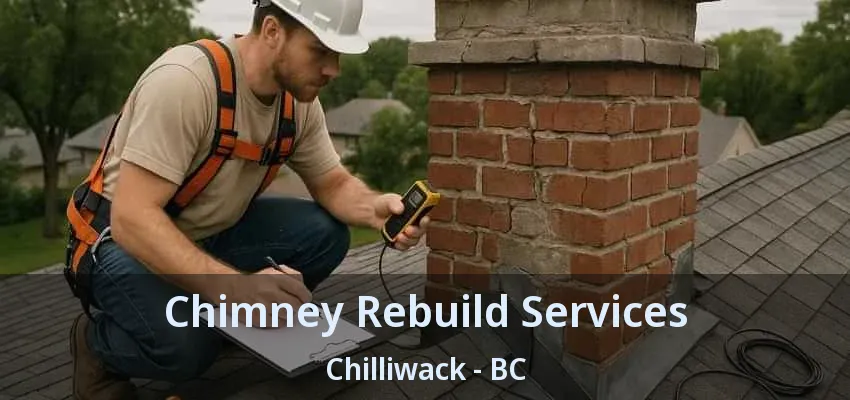
Sometimes yes, often no, and the deciding factor is whether the damage touches the path the smoke takes. A chipped brick on the outside of the stack is not going to change how the fire drafts tonight. A broken flue tile, a liner with gaps, a crown that lets rain pour into the flue or a fan that has stopped running can. When we are asked this on the phone, we usually suggest leaving the fireplace or stove cold until the chimney has been checked. A few quiet evenings cost nothing, and a carbon monoxide alarm near the bedrooms is cheap protection in any home with a fuel-burning appliance.
A masonry chimney has more parts than most people realize, and each one can need repair on its own. From the top down, you will usually find:
Inside the house sit the damper, the smoke chamber, the firebox and sometimes an ash dump. Factory-built chimneys swap the brick for a metal flue inside a framed chase with a metal cover on top.
A leaning chimney usually points to a problem at the bottom, not the top. The chimney’s footing may have settled because of poor original construction, soil movement or water collecting around the base. Mortar that has washed out over many years can also let the upper stack shift. A gap opening between the chimney and the siding, cracks running diagonally through the brick and a stack that looks off-plumb from the street are the warning signs. Keep people away from the area beneath it and have it assessed promptly. Anyone researching “chimney rebuild services” for a leaning chimney should ask whether the footing will be evaluated too.
Spalling is almost always a water story, and the pattern of the damage tells us where the water comes from. Flaking concentrated near the top of the stack points to a cracked crown or a missing cap. Damage along one side often matches the direction of driving rain. Bricks that crumble right next to newer, gray, very hard mortar suggest a past repair used the wrong mix. A non-breathable sealer painted on years ago can also trap moisture behind the face. Replacing bricks without fixing the cause just starts the clock again, so we deal with both at once.
The most common signs show up as water, debris or poor performance. Watch for:
Outside, look for white staining on the bricks, gaps in mortar joints and a cap or flashing that looks loose. Any one of these is worth a closer look by someone who can reach the chimney safely.
A chimney needs tuckpointing when its mortar joints are cracked, recessed or crumbling. Look for joints that sit noticeably deeper than the brick face, sandy mortar that could be scratched out with a key, hairline cracks running along the joints and dark voids where mortar has fallen out. Grit collecting on the roof or in the gutter below the chimney is another clue. Binoculars from the ground or a photo taken from a safe window give you a good view without climbing. If more than a few scattered joints look this way, repointing is usually due.
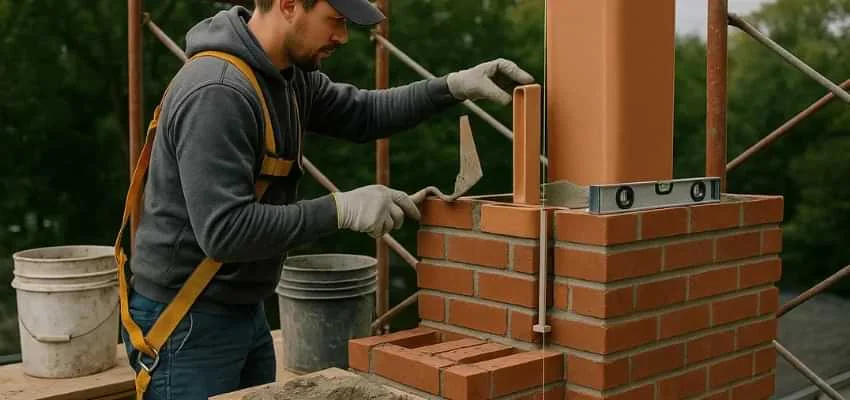
The crew sets up safe roof access, protects the shingles and takes the chimney down brick by brick to a solid course, usually somewhere near the roof. Usable bricks may be cleaned and set aside. The flue tiles or liner are then extended or replaced as the chimney goes back up in fresh mortar, course by course, to the right height. A new crown is formed on top, the flashing is renewed where the chimney meets the roof and a cap is fitted. Debris is lowered and hauled away rather than thrown. Most chimney rebuilding jobs at this scale take several days, depending on weather.
Tuckpointing is done joint by joint, and we start by testing a few to see how deep the damage goes and what mortar the chimney was built with. Older chimneys often have softer, lime-rich mortar, and a much harder modern mix next to it can crack the bricks over time. After grinding failed joints back to sound material and rinsing out the dust, we pack new mortar in thin lifts and strike it to match the existing joint profile. For color, we compare dried samples against the old joints rather than guessing. The chimney is kept out of hard rain while the new mortar sets.
Labor, access and materials drive the price, roughly in that order. Labor depends on the size of the repair and whether it can be finished in one visit or needs curing time between stages. Access covers roof height, pitch and anything that makes ladder setup awkward, such as a deck or steep slope below the chimney. Materials range from a tube of sealant to a custom stainless chase cover or a full liner kit. We also leave room in the conversation for surprises, because opening a chimney sometimes reveals more. Our quotes list each part of the work separately, so you can see where the money goes.
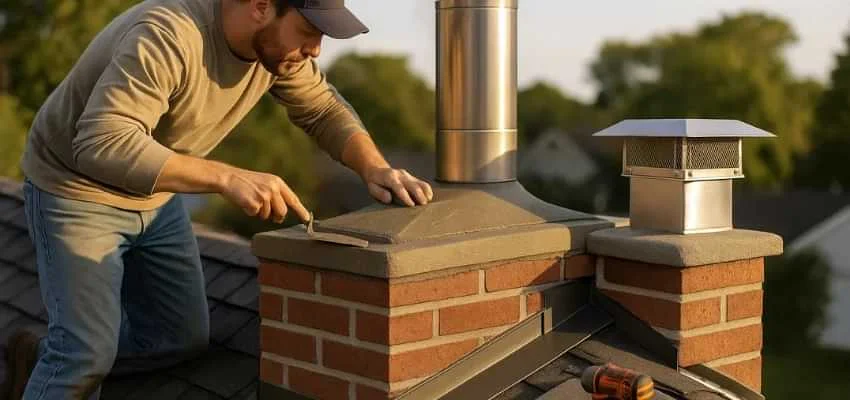
That is a smart move. Ask each company what is included, how long the visit takes and what you will be shown afterward. We are happy to answer those questions in writing. Request a detailed quote from Chimney Sweep Chilliwack for your home in Chilliwack.
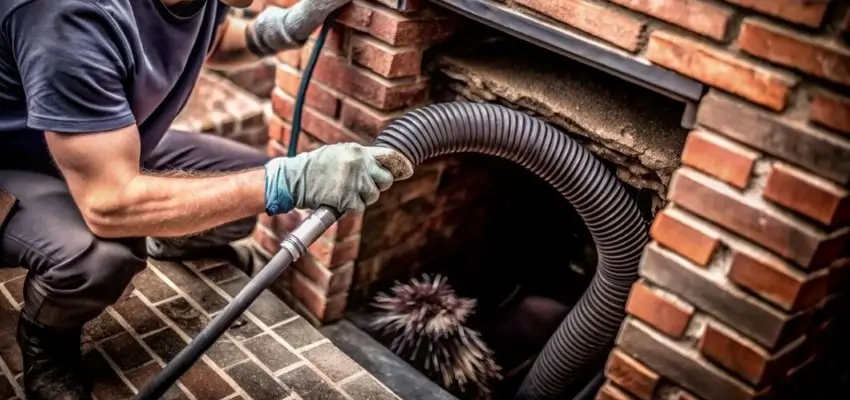
Less smoky smell, steadier flames: Chimney Cleaning around Chilliwack
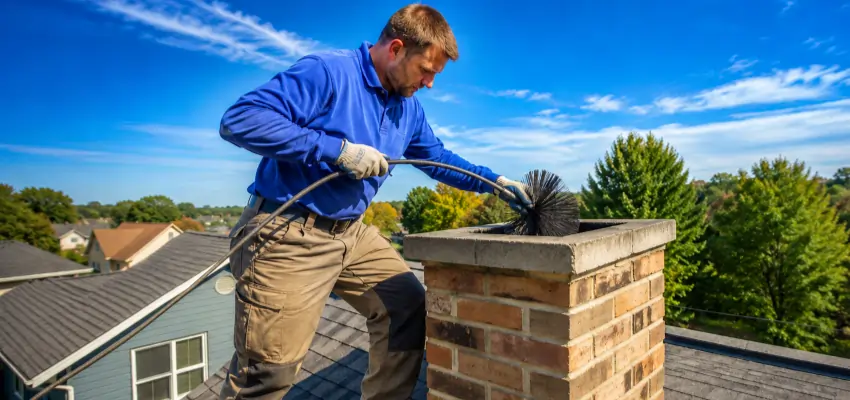
Chimney Sweep visits that leave Chilliwack living rooms clean
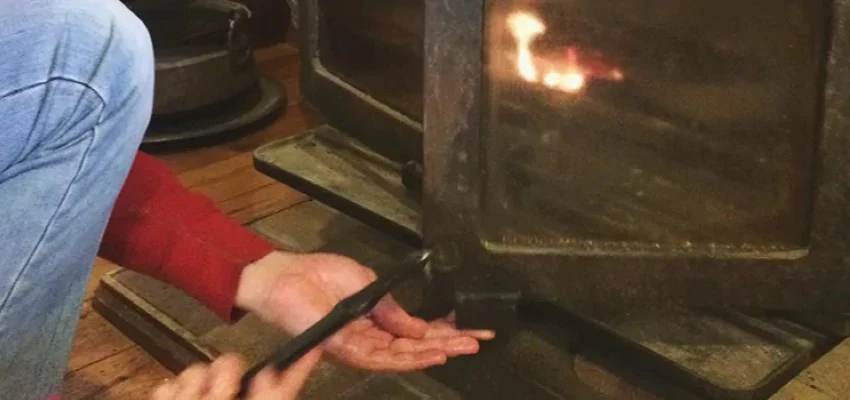
Swept and checked: Chimney Sweep Services in Chilliwack
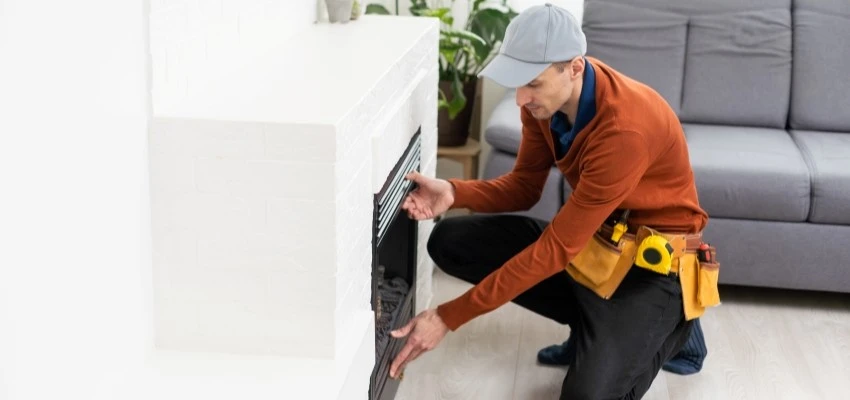
What Fireplace Experts check in your Chilliwack chimney
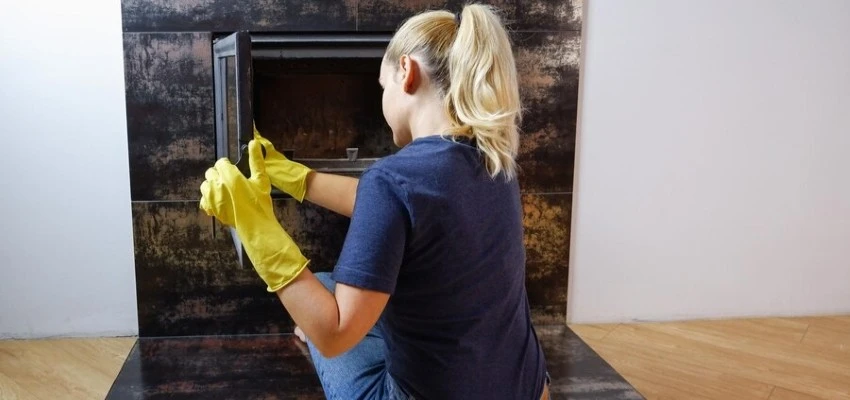
Hazy glass and dusty logs? Gas Fireplace Cleaning in Chilliwack
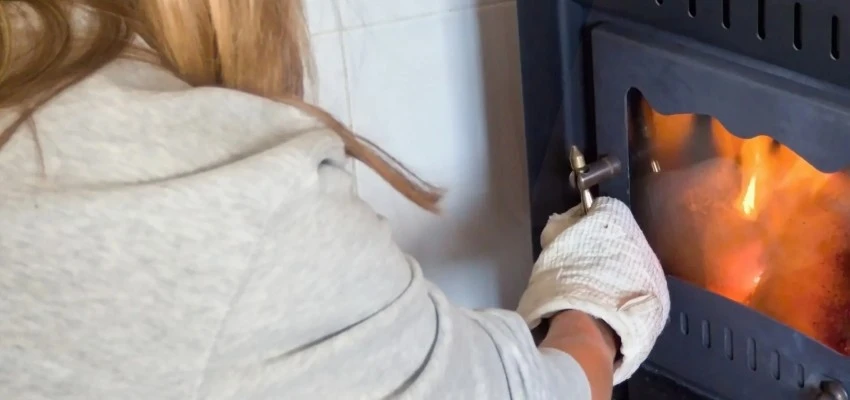
Catch a weak thermocouple early with Gas Fireplace Maintenance