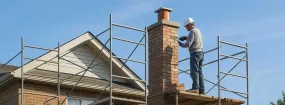
Think of this page as a reference you can come back to. It collects common questions about chimney masonry restoration from homeowners around Chilliwack and answers each one directly, with the reasoning behind it. Whether you landed here after typing “chimney restoration” or someone who recently had their chimney fixed sent you the link, you should leave with a clearer idea of what needs doing, what can wait and what to ask before any work begins.
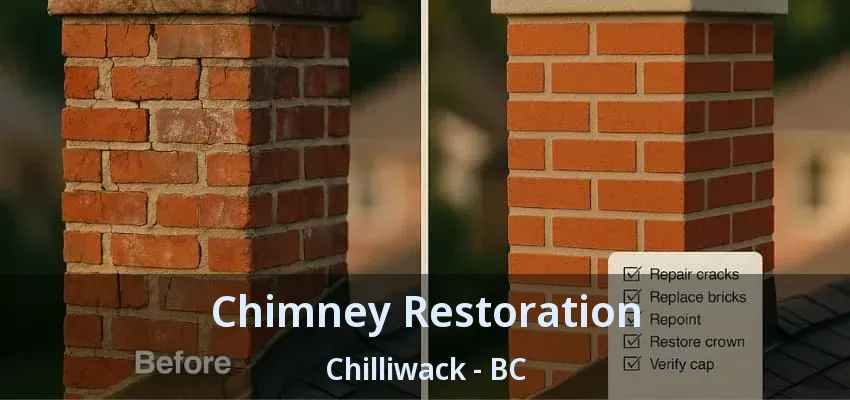
In everyday use, tuckpointing means the same as repointing: replacing failing mortar joints, one of the most common chimney jobs we do. Mortar is meant to be the sacrificial part of a brick wall: it is softer than the brick and wears first, which is exactly what you want. After enough seasons of rain, sun and temperature swings, joints shrink, crack and wash out. Tuckpointing removes that worn material and replaces it with mortar matched to the original in strength and color. Done properly, it restores a weathertight surface without disturbing sound bricks, so the chimney keeps its original look.
A chimney’s parts fall into three groups: the weatherproofing outside, the flue liner inside and the working parts at the bottom. Weatherproofing means the cap, the crown, the flashing and the face of the bricks and mortar. The liner is the channel that handles heat and corrosive exhaust. Down at hearth level are the pieces people actually touch, such as the damper handle, the firebox walls and the ash dump door. On a prefab system, a framed chase and its sheet metal top replace the brick. When we diagnose a problem, we trace it to one of these groups first, because that decides what the fix looks like.
Repair usually targets one problem, such as a leak or a damaged cap, while restoration brings a worn chimney back to sound condition as a whole, often with attention to how it originally looked. A restoration project might combine repointing, brick replacement, a new crown, new flashing, a cap and work inside the flue in one plan. On older homes, it also means respecting details like corbelled brickwork, decorative caps or original mortar colors. If you are researching “chimney restoration”, expect an inspection first and a written scope that lists each part of the chimney and what will be done to it.
Joints that have shrunk back from the brick face, cracked along the edges or turned soft and powdery are the signs we look for, and they are usually visible from a short distance. Healthy mortar, by contrast, fills the joint, sits tight to the brick on both sides and is shaped to shed water. On the roof, a light scrape with a tool tells us whether it still holds together. We also note where the damage sits: the top few courses and the weather-facing side usually go first. Repointing those areas promptly keeps water from reaching the core of the chimney.
A leaking chimney almost always has one of a few causes: a missing or damaged cap, a cracked crown, failed flashing where the chimney meets the roof, or porous bricks and mortar soaking up rain. On factory-built chimneys, a rusted or flat chase cover is a frequent culprit. Water may show up far from where it enters, running along the flue or the framing before it appears as a stain. Note when the leak happens, whether in every rain or only when wind blows from one direction, and where you see it. Those details help narrow down the source quickly.
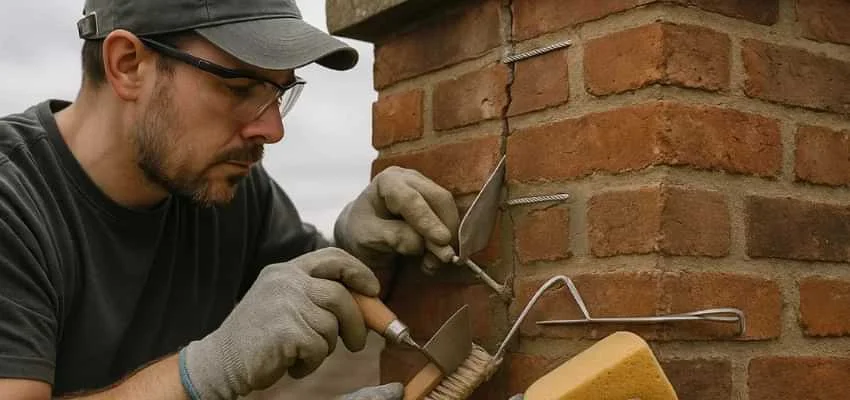
The aim is to change as little as possible while making the chimney sound. That starts with matching materials: softer, lime-based mortar for old soft brick, salvaged or carefully chosen replacement bricks and joint profiles copied from the original work. Decorative features such as corbels, banding or clay pots are repaired or rebuilt to the same pattern rather than simplified. Modern parts, like a stainless liner or a top-sealing damper, can usually be added without changing what you see from the street. Ask for photos of earlier chimney masonry restoration projects on homes of a similar age.
We run repairs in a set order: confirm, protect, fix, test, explain. Confirming means checking the chimney ourselves rather than relying only on the phone description, because the cause of a leak or a stuck part is not always where it seems. Protecting covers drop cloths inside and care around shrubs and shingles outside. The repair itself depends on the part involved. Testing might mean running water over new flashing, cycling a damper several times or checking draft with a little smoke. We finish by walking you through what we did and showing photos of areas you cannot see from the ground.
A common guideline is to have a chimney inspected once a year, and many homeowners schedule it before the colder months when the fireplace sees more use. Yearly checks catch small problems such as a loosening cap, a new crack in the crown or a worn mortar joint before they let water in. It also makes sense to have the chimney looked at after a major storm, a chimney fire, a roof replacement or any change of insert, stove or appliance. Chimneys that are rarely used still need checking, because weather damages them whether or not you light fires.
The repairs we make hold up longest when the rest of the chimney system is looked after too. That means a cap that stays in place with clear mesh, a crown kept free of leaves and moss, flashing left alone by anyone doing roof work and regular sweeping if you burn wood, because creosote and moisture attack the inside of the flue. We tell homeowners exactly how long to wait before the first fire after masonry work. After that, a glance at the chimney from the yard after big storms and a professional look once a year usually keeps surprises to a minimum.

Simple routines at home go a long way, and a periodic visit catches what you cannot see. Together they keep your chimney in steady shape year after year. Call (778) 608-3976 to plan the next check with Chimney Sweep Chilliwack.
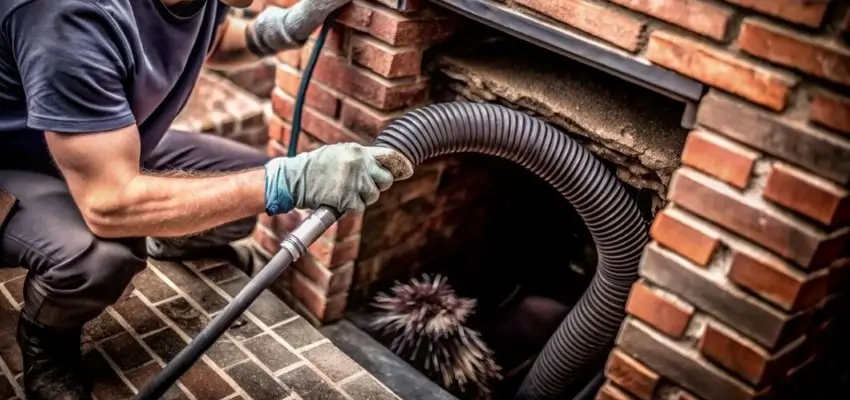
Less smoky smell, steadier flames: Chimney Cleaning around Chilliwack

Chimney Sweep visits that leave Chilliwack living rooms clean
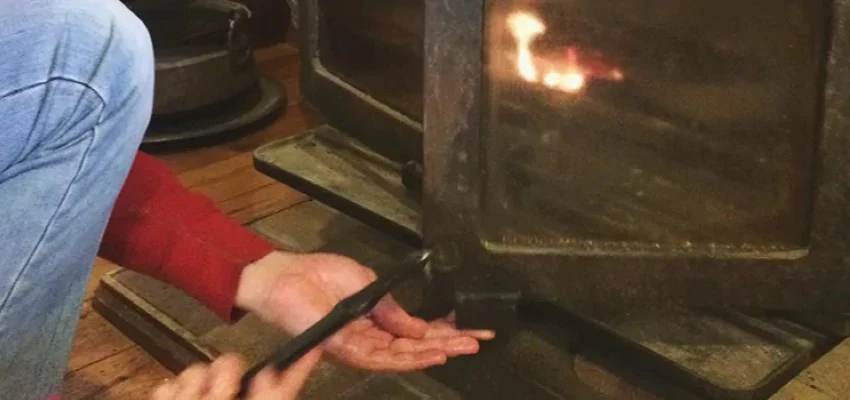
Swept and checked: Chimney Sweep Services in Chilliwack
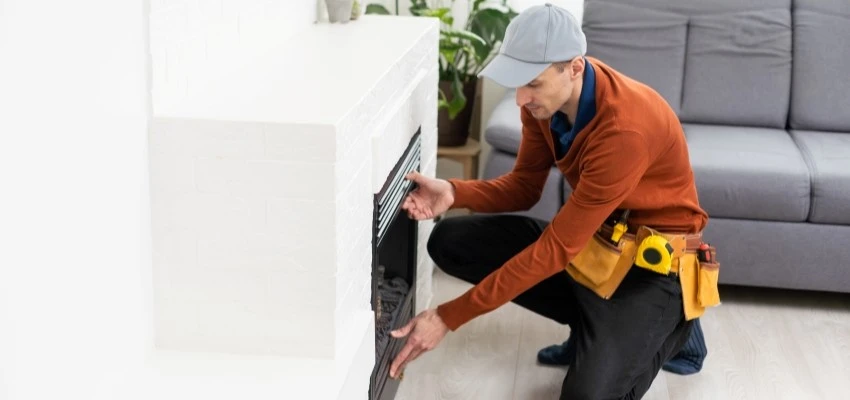
What Fireplace Experts check in your Chilliwack chimney
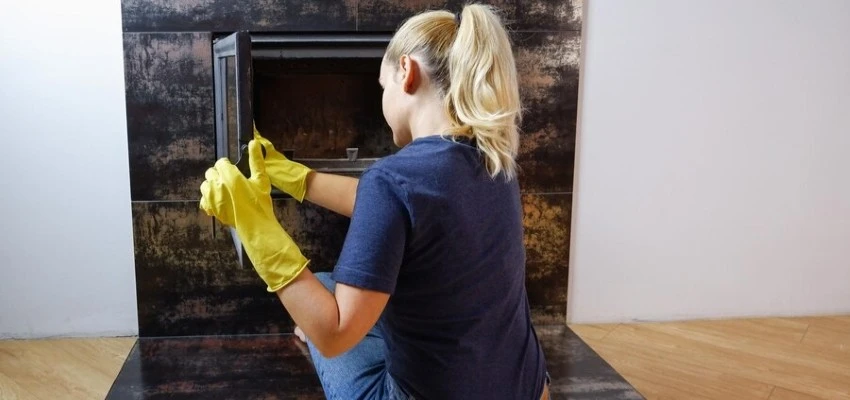
Hazy glass and dusty logs? Gas Fireplace Cleaning in Chilliwack
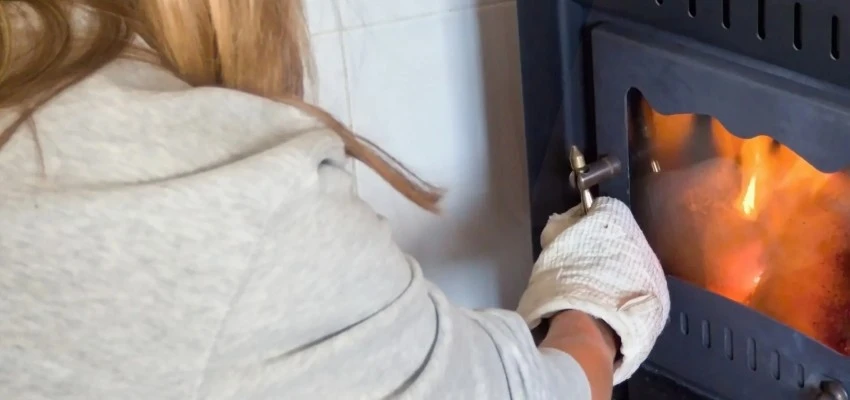
Catch a weak thermocouple early with Gas Fireplace Maintenance