
Before you call anyone about your dryer vent, it helps to know which questions to ask and what a sound answer looks like. That is the idea behind this page. It pulls together what homeowners in Chilliwack most often wonder about after a search for “dryer vent replacement”, with plain explanations of dryer vent replacement from people who work on dryer vents every week. Use it as a reference, whether you end up booking a visit or not.

It matters because, from the technician’s side, a dryer vent is an exhaust pipe, and every exhaust pipe depends on open airflow. When we take apart a vent that has gone a long time without attention, we usually find a lint lining along the walls, heavy clumps at the elbows and sometimes a hood that barely opens. That restriction makes the dryer cycle longer and run hotter, and its thermal safety switches end up doing far more work. Clearing it restores the flow the dryer was designed around. Homeowners often notice shorter drying times within a few loads, which is the easiest proof that the work made a difference.
It can. Lint is light, dry and burns easily, and a clogged vent traps both lint and heat close to the dryer’s heat source. Dryers have safety switches that cut the heat when temperatures climb too high, but those parts can wear out, and a blocked vent makes them trip far more often. The risk for any single home is modest, yet it is real enough that keeping the vent clear is widely recommended. Empty the screen every time you use the dryer, avoid running it when nobody is home and have the vent cleaned if drying times are getting longer.
Long drying times come down to airflow. A dryer heats air, pushes it through the tumbling clothes and has to dump that wet air outside so fresh air can take its place. When lint narrows the duct, moist air lingers in the drum and the clothes stay damp. We can measure the difference on the job: air at the hood is weak before cleaning and noticeably stronger after. If airflow turns out to be good and drying is still slow, we look elsewhere, such as the washer’s spin speed, a failing heating element or a moisture sensor that needs an appliance technician.
Stop the dryer and get it checked, because a burning smell is a call we take seriously. In many cases it turns out to be lint that drifted past the screen and settled around the burner or element, where it scorches each time the heat comes on. A restricted vent adds to the problem by keeping the cabinet hotter than normal. Our part is to clear the vent and the connector so heat can escape, and to tell you if the inside of the dryer also needs cleaning by an appliance technician. A brand-new dryer can smell a little hot for its first few loads, but a smell that appears suddenly in an older machine deserves a check.
Rigid pipe for the run and a semi-rigid connector at the dryer is our usual answer, but every replacement starts with the route. We measure the run, count the bends and look for a shorter or straighter path, because a new duct on a bad layout still underperforms. Then we fit smooth-wall metal pipe in sections, seal each joint with foil tape, support it so it cannot sag and finish with a hood that has a free-swinging flap. Behind the dryer, the connector is cut to length so it curves without kinking. Before we leave, we run the dryer and check the exhaust at the outside opening, so you can see the result for yourself.

When we put together a price, we are really estimating time and access. A short vent through the wall behind the laundry room is quick. A vent that crosses a finished basement ceiling, climbs to the roof or exits three stories up needs more equipment and more care. Heavy buildup or a nest takes extra passes. Parts are separate from labor, so a new transition hose or hood shows up as its own line. We would rather explain those factors up front than surprise anyone, which is why we ask a few questions about your dryer vent before giving a figure.
A straightforward replacement, such as a new connector and a short run through an exterior wall, often fits into a few hours. Longer routes, ceiling or basement runs, roof exits and jobs that involve opening and closing drywall can take most of a day or be split across two visits. The time also depends on how easily the old duct comes out. When you request a quote for “dryer vent replacement”, ask for an estimated duration and whether you will be without the dryer overnight, so you can plan laundry around the work.
Sometimes, but not always. If the duct runs through an unfinished basement, a utility room or an accessible attic, it can usually be replaced without touching finished surfaces. When it is sealed inside a finished wall or ceiling, the installer may need small access openings at joints or elbows, or may suggest a new route that avoids the old one. Ask before work starts who will patch and paint any openings, since some vent companies handle drywall repair and others leave it to you or a contractor. A clear plan avoids surprises during dryer vent replacement.
To check the outside dryer vent flap, start the dryer on a heated cycle and walk outside to the vent. The flap or louvers should open and you should feel a steady stream of warm air. When the dryer stops, they should fall closed on their own. If the flap barely moves, sticks open or is coated with lint, wipe it clean with a dry cloth while the dryer is off. A flap that still will not move freely, or a cracked or missing cover, should be replaced. Only check vents you can reach from the ground; leave second-story and roof vents to a professional.

That is a common place to start. A short conversation usually sorts out what kind of visit makes sense, from a focused check to a full service. Reach Chimney Sweep Chilliwack at (778) 608-3976 and we will give you a straight answer for your home in Chilliwack.
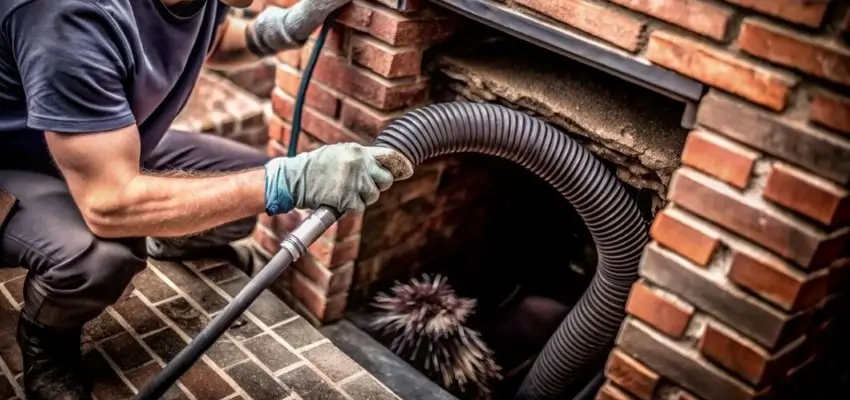
Less smoky smell, steadier flames: Chimney Cleaning around Chilliwack

Chimney Sweep visits that leave Chilliwack living rooms clean
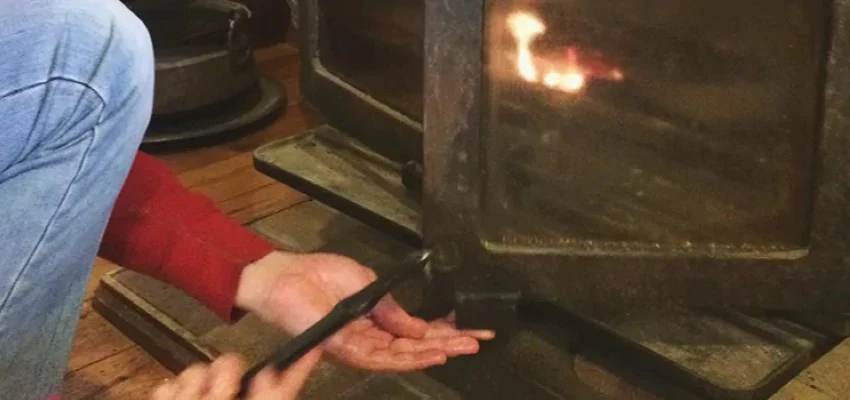
Swept and checked: Chimney Sweep Services in Chilliwack
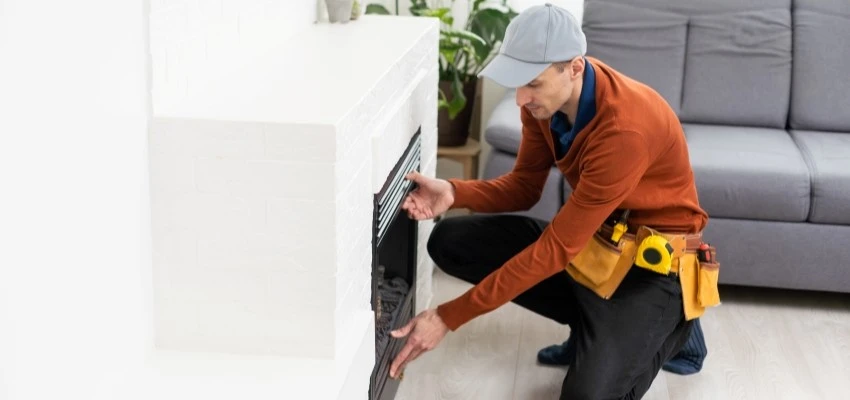
What Fireplace Experts check in your Chilliwack chimney
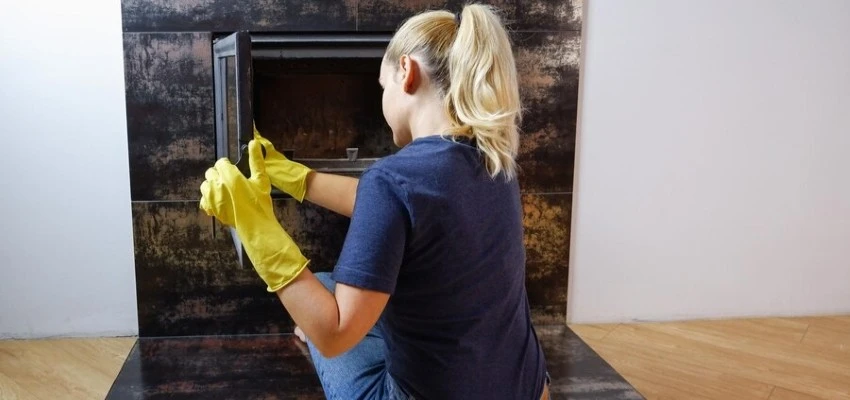
Hazy glass and dusty logs? Gas Fireplace Cleaning in Chilliwack
Catch a weak thermocouple early with Gas Fireplace Maintenance

